Joe Touring – Part 2: Frame
In this story we are going to address the foundation of the project which will set the tone of the remaining pieces of this puzzle, the frame and bed floor.
Now I’m sure you’re thinking, “Why are they worried about the bed floor?” Well it’s simple; upon completion JT will see a lot of autocross action as well as some hardware store trips, so we need to address both needs of this truck, making it a multi-purpose vehicle. The benefit of refining the factory frame of this C-10 is the fact that it will save you some money, if your frame is in good shape. Keep in mind that trucks like JT were built 40 years ago and not for their good looks either. They were purposely built for work and most were used hard and driven worse.
The process does require some fabrication skills as well as some basic metal working tools including a welder. If you don’t have the right tools, or lack the skill-set to perform these tasks, fear not; these modifications can be performed at a local fab shop, or even at a muffler shop if need be.
With that being said, allow us to highlight some simple modifications that can be done by a regular “Joe truck guy” to their own project build while saving some cash along the way.
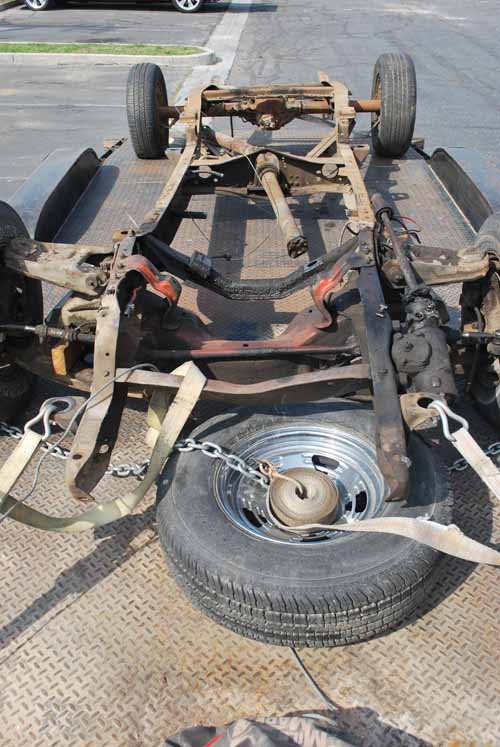
The first order of business was the disassembly of JT down to its bones, which gave us the wrong sign for success. With a twisted front rail on the passenger side, we decided to seek a new frame from Chevy Truck Salvage in Santa Ana, California, where we were able to purchase a better one for $100. If a short bed frame is difficult to find, as they sometimes are, don’t be afraid to cut down a long bed frame, they work just as well in this application. Stay tuned for this conversion in a future issue.

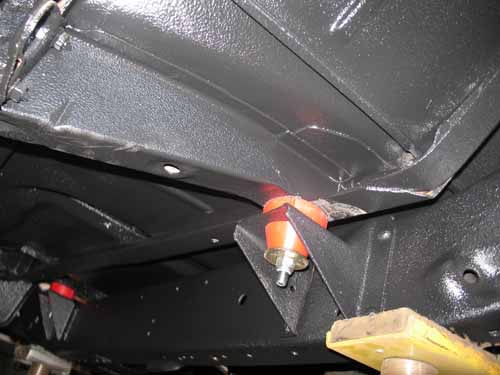
The C-10 purest would look at this photo and ask “What did you guys do to that frame?” but for all the rest of us “Joe’s” let me explain. To achieve a lower center of gravity, for better handling, the front cross-member was raised an inch and a half up into the frame-rails giving us more ground clearance while lowering the sheet-metal as well. Next the rear section was raised or “kicked” up 4 full inches gaining us again a low center of gravity plus lower sheet-metal to ground clearance.
 |
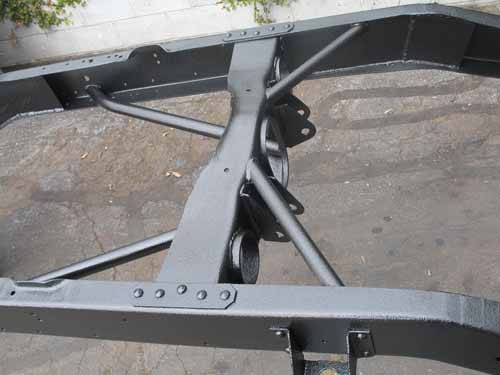 |
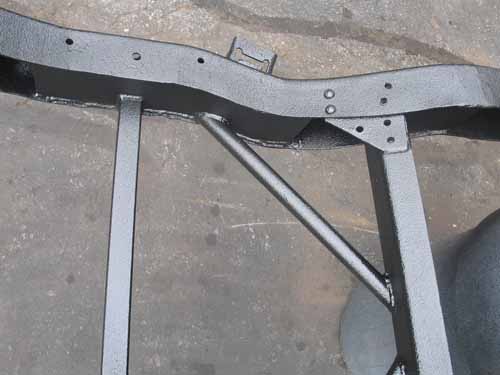
The first of these two photos shows where the rear section of the frame was kicked up 4 inches. Notice where the frame was boxed, giving the area where it was re-worked additional strength. In the next photo, you are able to see where tubing was added to the center cross-member, adding stiffness to the frame to resist “flex” while cornering. Also in this photo, you’ll notice that the front trailing arm mounts were raised as well, which brings down the back of the truck as well and enhances corning as well.
 |
 |
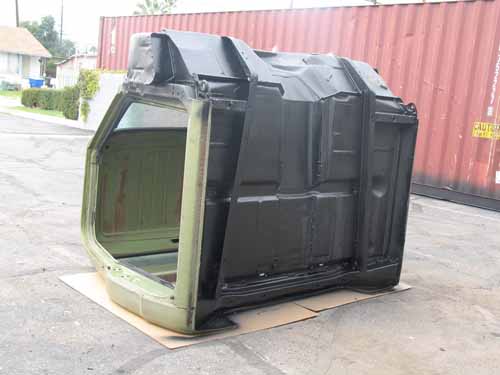
During reconstruction, JT gave us another blow to the head as the cab must have had another life as an underwater attraction. Rust was found in all of the usual area that plagues C-10’s. As luck would have it, a cab popped up on “Craig’s List” for $100 that claimed rust free. We darted over to the address and checked it out. The new cab was rust free and in such great shape that we gave the guy $200 for his troubles. Sometimes it feels good to pay it forward.
To ensure that the frame and cab were protected from future rust and harmful elements, we decided to spray a coat of SEM’s “Rock-it” liner over the frame and the underside of the cab. Here’s a look at what the two looked like when they were bolted back together. I’d have to say that they should last us another 40 years.

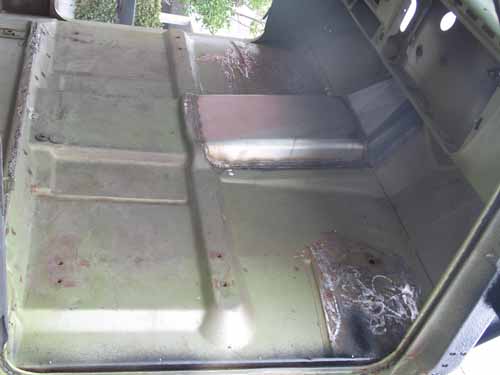
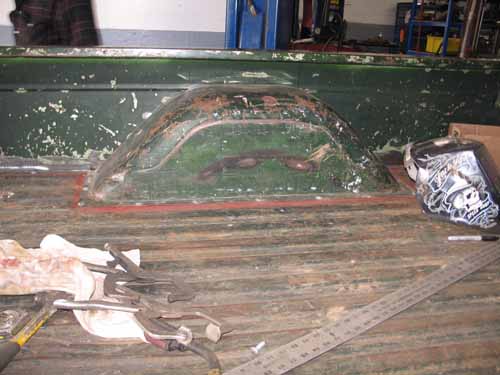
Earlier I was saying that the bed floor needed to be modified due to the fact that we raised the frame rails up 4 inches, so the floor would need to be relieved to allow room for the rails. However, we still want to be able to run to the lumber yard and slide a sheet of plywood in the back, every now and then. The only choice that we had left was to raise the bed floor and the wheel wells up as well.
 |
 |
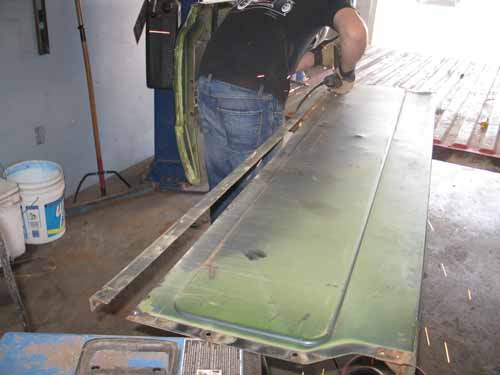 |
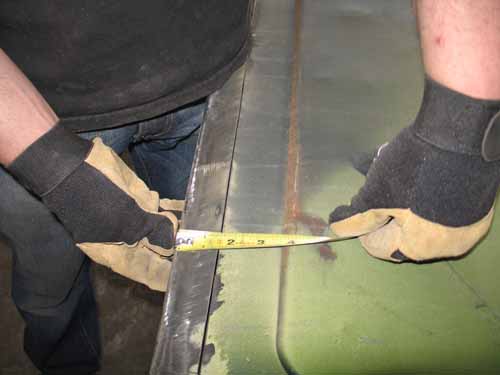
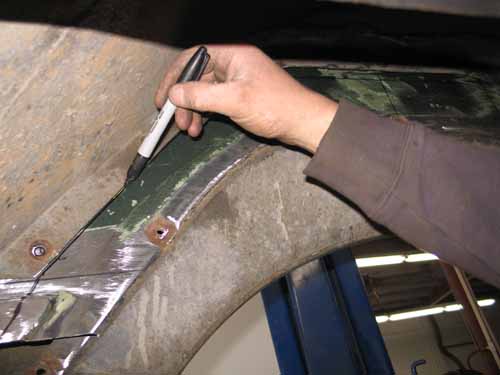
One of the great things about C-10 truck boxes is that everything unbolts like a piece of IKEA furniture. The front bulkhead was the first item removed because the bottom will need to be trimmed for frame clearance. With the front side that faces the back of the cab exposed, an 1 ¾” of material was measured out, marked, and cut off using a 4” electric grinder equipped with a cutting wheel.
 |
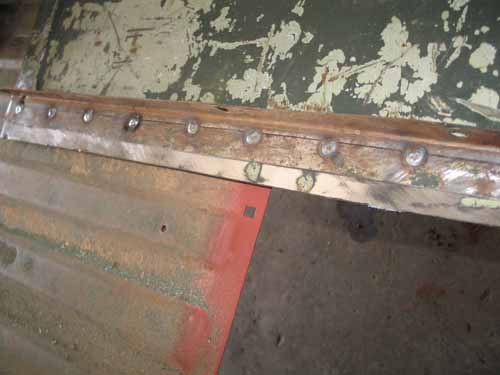 |
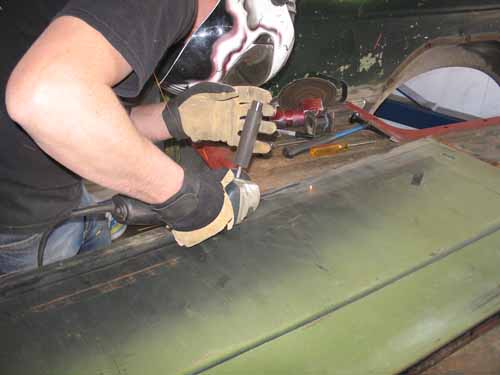
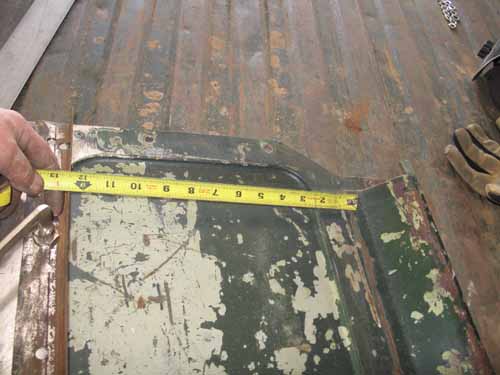
Flip over the bulkhead to the side that is seen from the bed and measure from the underside of the top lip marking a line at 12 1/2”. Then clamp the piece of material that you had cut off in the previous steps, and weld that back into place. The floor can now be bolted back to the bulkhead, but now it will be raised up 4 inches more than before. The same goes for the rear mounts in the back of the bed and the sides, as you’ll find is self explanatory to where the bed floor and the bed sides bolt together.
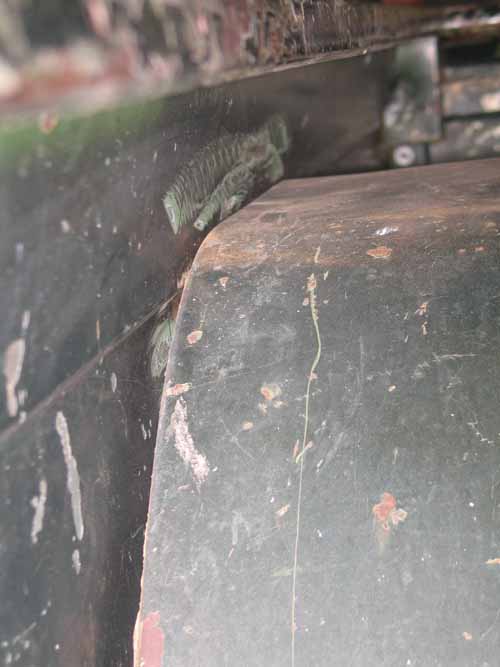
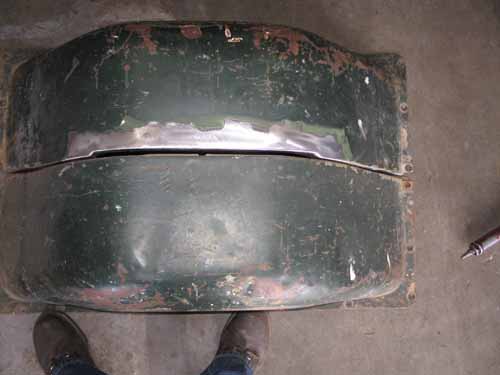
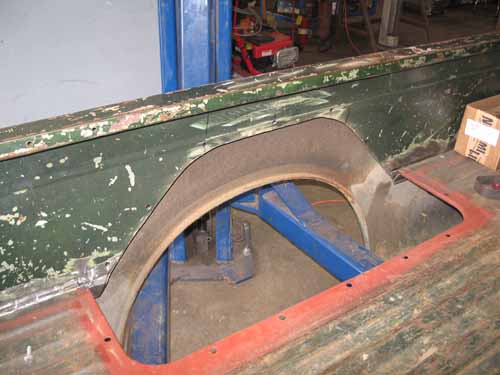
The wheel wells are a different story, as they do unbolt from the floor and the bedsides, but as the floor is raised, it creates problems with the tops of the wheel wells and the bolt pattern as you can see in this photo.
 |
 |
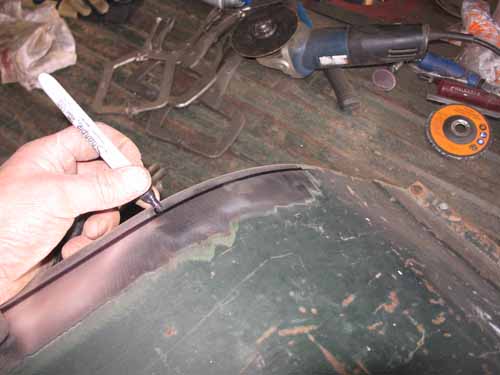
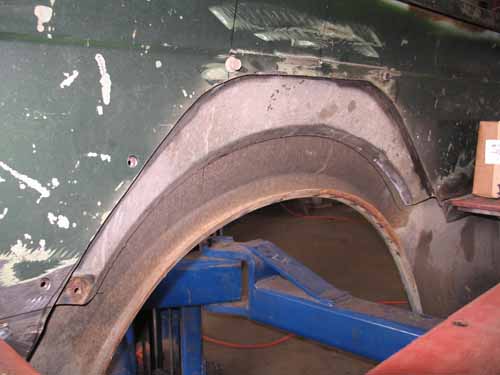
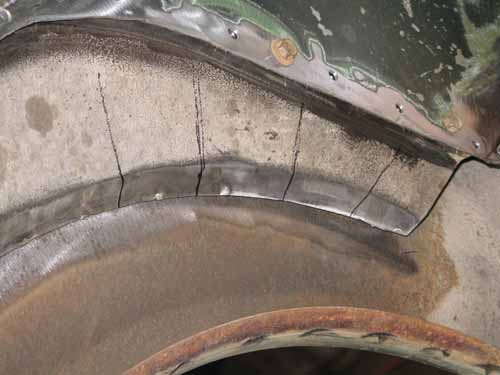
The area that needs to be relieved is marked out along the wheel well with a marking pen. Next the area is cut and moved inward to be clamped together and then welded.
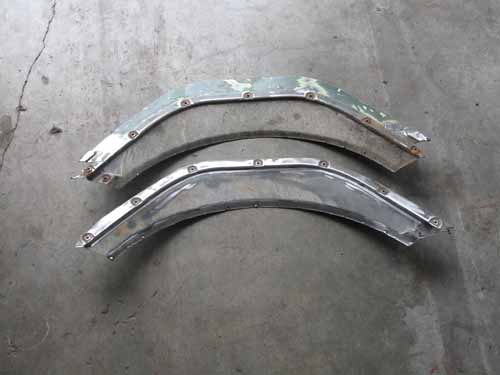
Here you can see the difference between the modified wheel well in the top half of the picture from the stock wheel well in the bottom half of the photo.
 |
 |
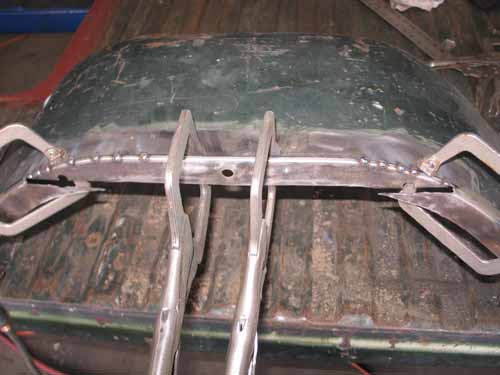
With the modifications complete to the wheel wells, the next step is to tackle the modifications to the bedsides so that the wheel wells will bolt back into place just as they did before. Mark and cut along the area that held the wheel wells in place. Once complete you should have two pieces that look like these in the photos.
Now that the inter-structure has been cut, the bedside should look something like this.
Reinstall the cut piece between the inner wall of the bedside and align the mounting hole left over holding them in place with a few bolts used to hold the wheel wells in place.
Once everything aligns together, you’ll need to make some relief cuts to the inter-structure that can be seen here in the photo. These cuts will allow the inter-structure to conform to the outer skin of the bedside where you can then weld it in place returning it’s strength.
Last but not least, you can remove the bolts and re-install the wheel wells in the factory location.
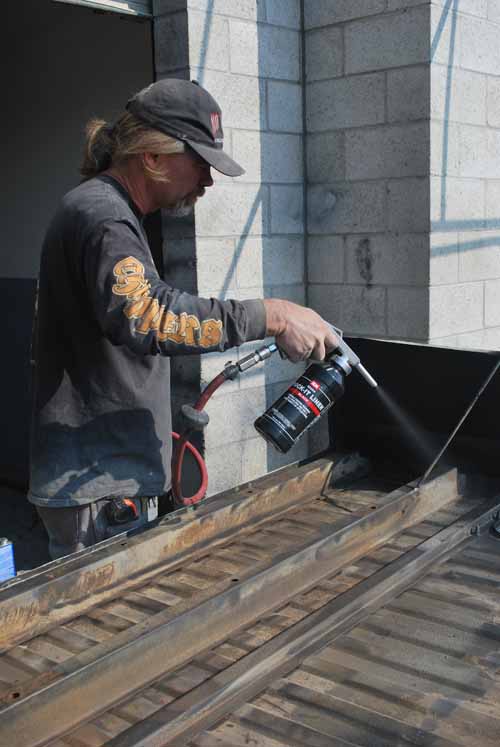
With our “mods” complete, the bed is flipped over and a coat of SEM’s Rock-it liner available at Coast Airbrush is applied to the top and bottom sides of the bed.
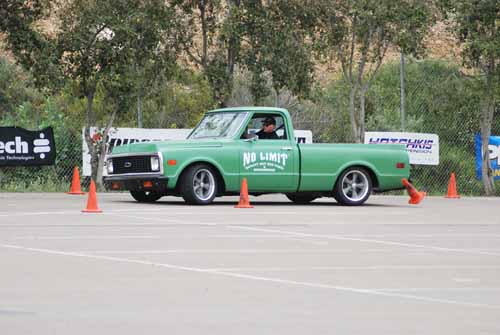
There you have it, a raised floor to allow for a low center of gravity, and a full function bed floor. It’s great to watch people look at this bed and ask what has been done to it. Comments like “did it come that way” are very common from the “looky loo” crew.
Sources:
No Limit Engineering: www.nolimit.net
SEM “rock-it liner” www.semproducts.com
Coast Airbrush: www.coastairbrush.com
Chevy Truck Salvage: (714) 554-1850