Joe Touring – Part 7: Interior
JT Part 7 – Interior
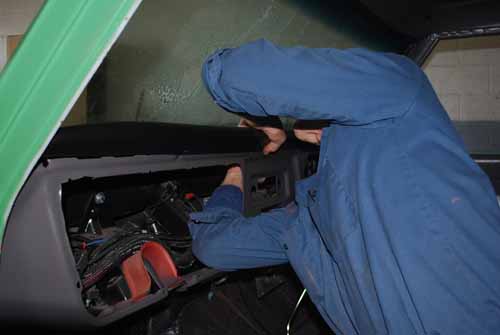
Over the past few months we showed you how to bring back a truck from the dead and have a blast with it on a working man’s budget. Having the essentials down such as the suspension, paint, wheels, electrical, and the drive-train already covered in our past issues, it’s only fitting to move into the interior of the truck.
Now the whole theme of this series of installs is to show you that you can build a respectful truck that performs well and still turns heads. With that being said, we chose to rebuild as much of the factory items as we could with the help of the after-market suppliers that manufacture replacement parts.
Brothers’ truck parts located in Corona, California is just one of the many establishments that specialize in reproduction parts for GM trucks. Without companies like Brothers’ it would be next to impossible to restore these old trucks.
Our plan of attack was plain and simple, restore as much of the interior as possible without spending a whole bunch of money, and with the steps that we’ll show you in this month’s installment, you can achieve similar results. To make sure that we were keeping things on track, we asked for the assistance from two professional shops on what were the best ways of restoring the interior using the parts supplied from Brothers’ truck parts.
To get the ball rolling, we started at 714 Motorsports in Westminster, California, where they showed us what’s the proper way to install a carpet kit. This allowed us to install a 1995 Chevy split bench seat that we picked up from our favorite salvage yard, Chevy Truck Salvage in Santa Ana, California. From there, we put on a jacket, and headed over to Pete’s Auto Glass, where they showed us how to restore the vent windows, and replace the roll-up side glass back to factory specs. Follow along, as we transform the look, and comfort of this project vehicle.
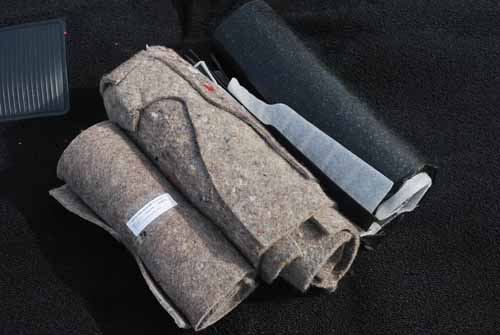
Brothers provides the “do it yourself” sound deadening materials, carpet padding, and original “Loop” style carpet all pre-cut to the factory specs.
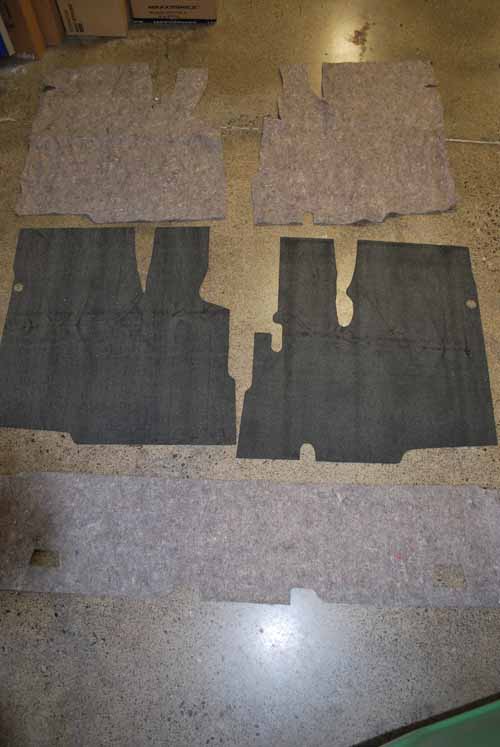
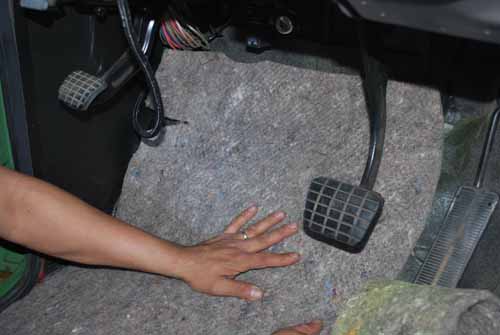
To learn the right way to install the carpet, we brought “JT” to 714 Motorsports in Westminster, California. The first step is to allow the carpet, padding and sound deadening material to “relax” by unrolling them and spreading them out as shown here. If you can, lay them out in the sun for a few hours to warm up.
 |
 |
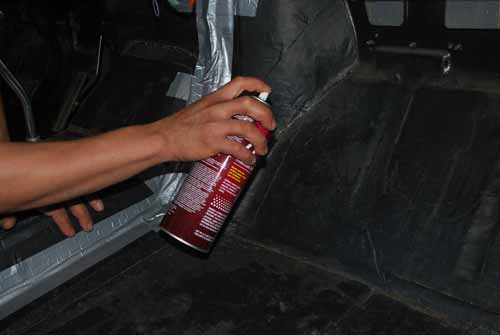
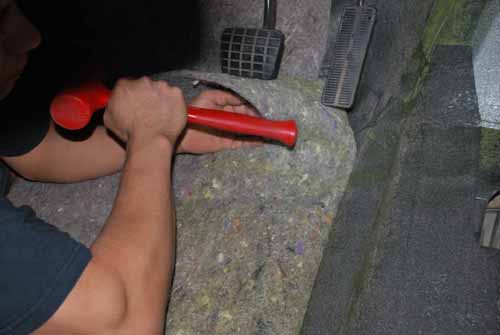
Now that the materials have had time to relax, apply some spray glue onto the floor area and the back side of the sound deadening material. Next lay out the material, and repeat the same process with the carpet padding.
 |
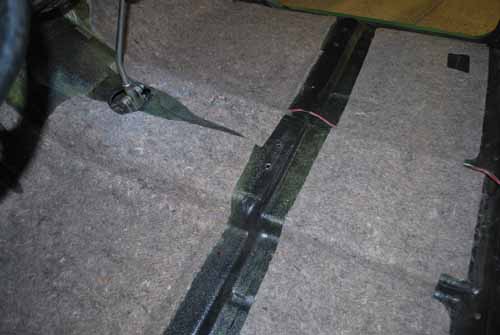 |
Be sure to work the padding into the corners of the sheet metal as best as you can. Using the “butt” end of a hammer will help to lay the padding in properly. When finished, the kick boards and cab floor should look like this.
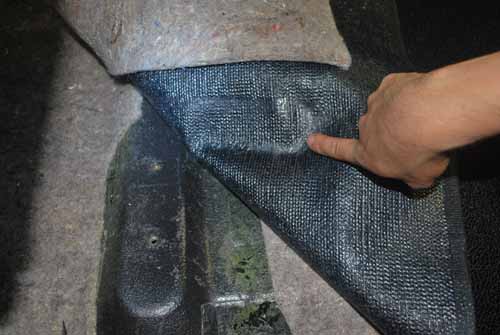
This high quality carpet kit has a molded plastic backing that is “pre-formed” to fit each particular C-10 floor. In the photo you can see where the “hump” has been molded into the carpet to fit with the floor. Use this as a reference on where to place the carpet down first as a trial fit.
 |
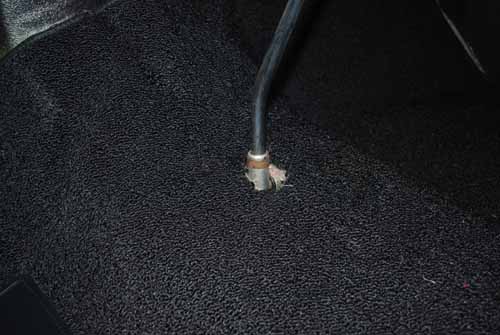 |
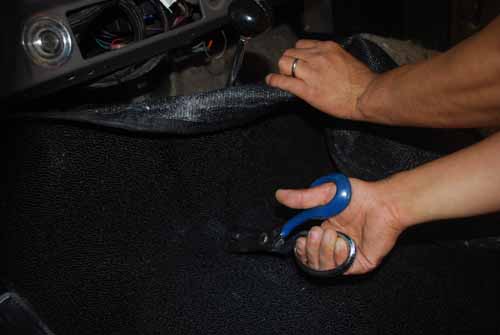
We installed this floor shifter from Gennie Shifter to give the truck an older look and feel. To install the carpet, we’ll have to cut the carpet to fit around the shifter. Run the carpet up tight to the shifter and cut a slit into the carpet using either a large pair of shears, like the pair in the photo, or a box knife.
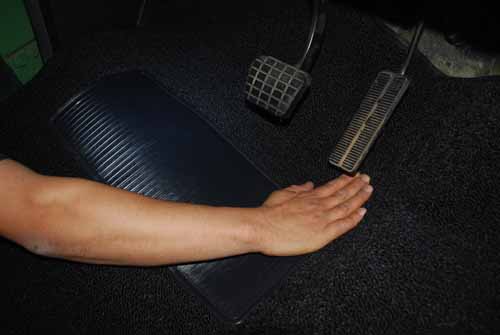
With a trial fitment of the carpet, it’s now time to spray out a coat of glue on both the back side of the carpet, and the padding. Start in the center and work your way to the outside of the cab one side at a time.
 |
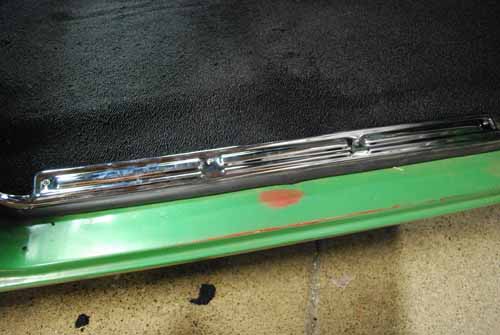 |
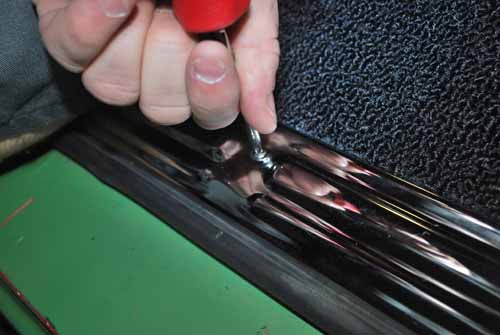
Brothers stock these beautifully chrome plated high quality threshold plates that holds the carpet in place and keeps from it fraying at the ends during use. Line up the plates at the end of the carpet, and if need be use an awl or an ice pick to help you find the hole set by the factory.
 |
 |
 |
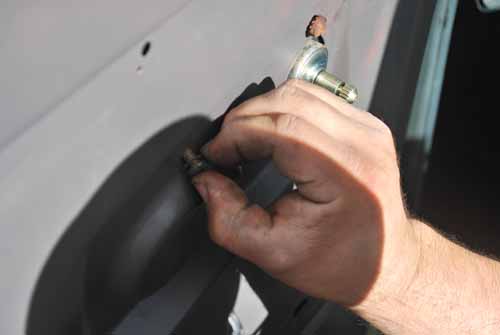
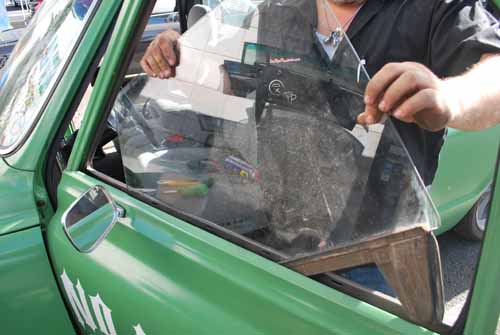
JT just celebrated its 40th birthday, which means that it’s time to replace all the window rubber and channels. A trip to One Piece Products, gave us the lowdown on how to replace all the components from Brothers Truck Parts. Ben first installed the “Run” channel by sliding it into the channel guides. Next he pre-fit the wind-wing to give him an idea of how much channel he needed to trim off using a pair of sheet metal shears.
 |
 |
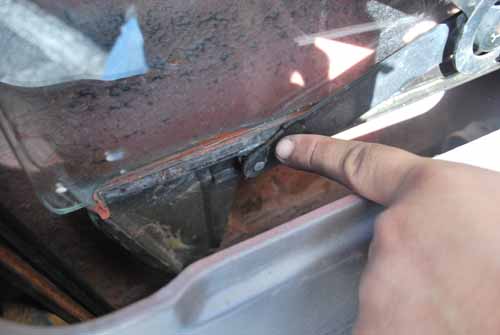 |
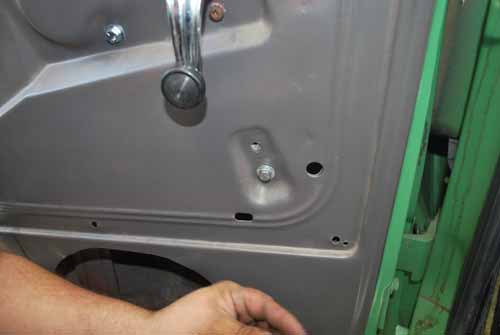
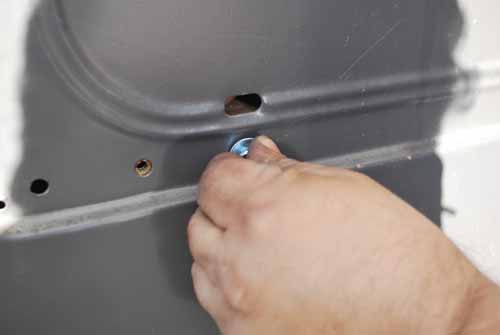
Ben installed the window regulators before dropping in the side glass. Using the window cranks, align the round guides into the glass track by pushing it into the track at the install notch.
 |
 |
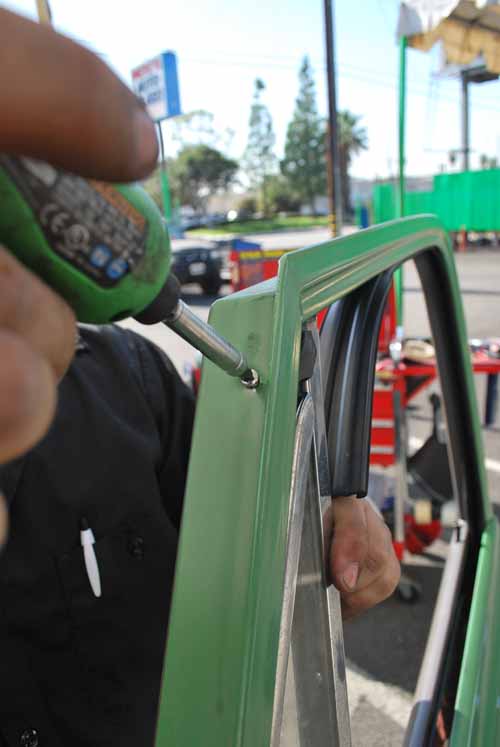 |
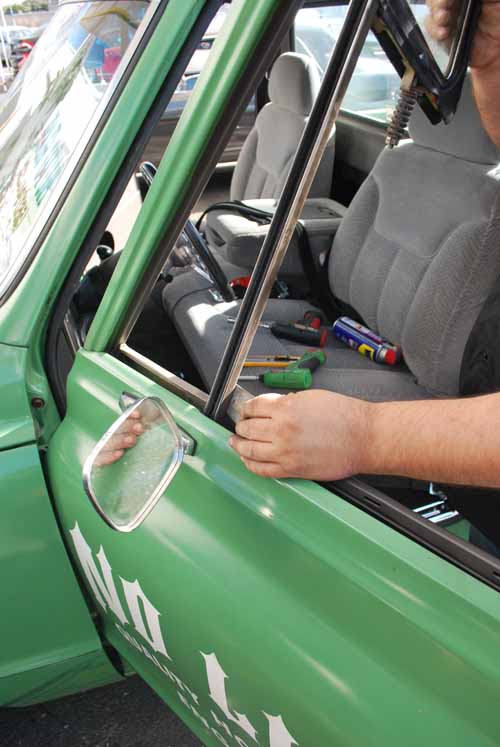
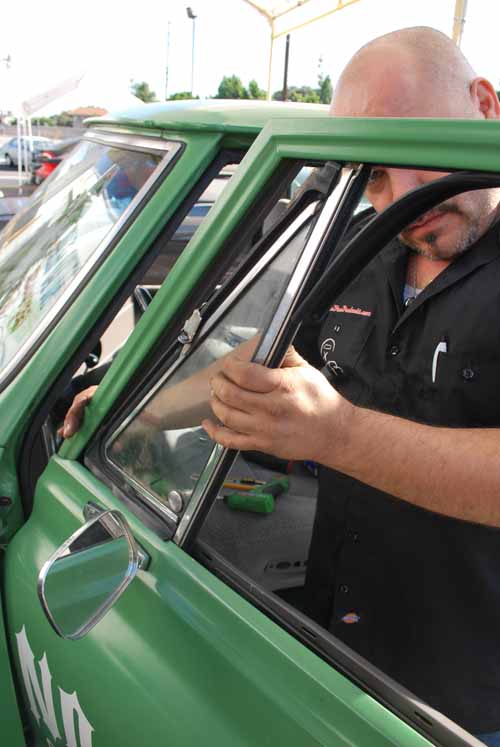
It’s easier to install the wind-wings by first turning them sideways and dropping the mount past the top of the door only then to turn them into position. Tilt them back while continuing to slide the side glass into the wind-wing channel. After we had things all lined up, Ben turned in the outside fasteners that travel through the door frame.
 |
 |
Now with all the glass in place, we fit and aligned all the window frame channels and tighten everything down.
 |
 |
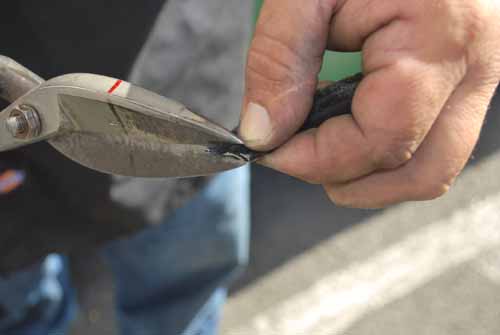 |
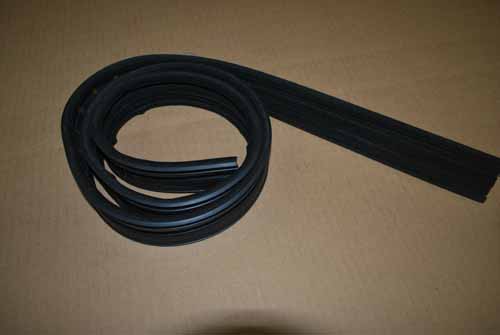
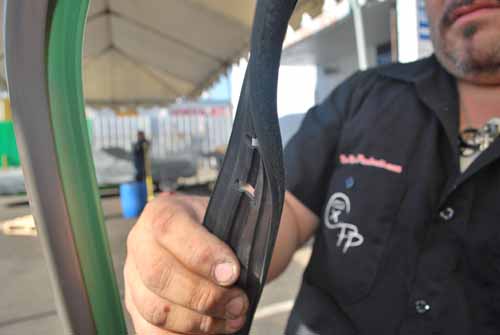
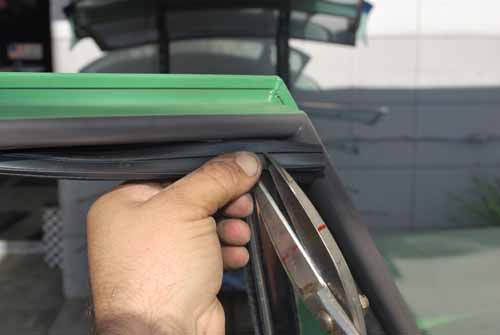
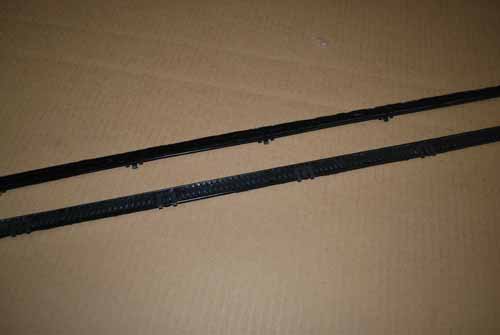
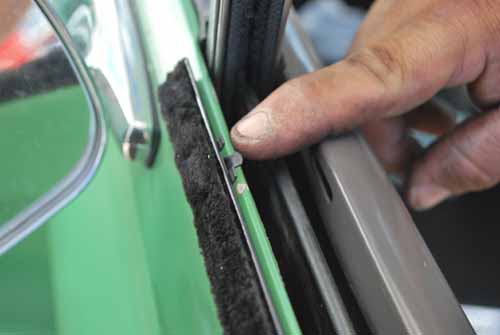
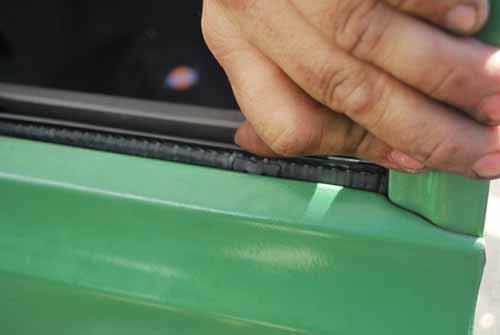
To keep the water and wind noise down, a new set of glass scrapers from Brothers were next to be installed. First, test fit the scrapers by checking if the clips are aligned properly. Don’t clip them in without test fitting them first. To fit them accurately, use a pair of sheet metal shears to cut the scrapers at the same angle as the wind-wing so when they are installed, everything will line up just right.
 |
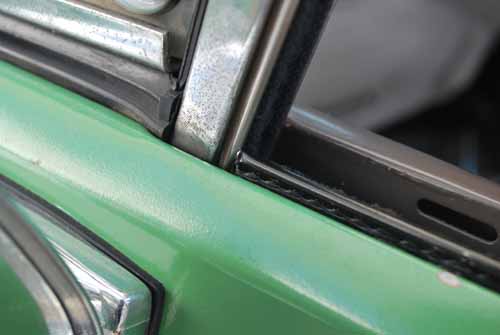 |
See how easy it is to clip them into place now by pushing the clips through the door frame, and look how good they fit by pre-fitting the scrapers before installing them.
 |
 |
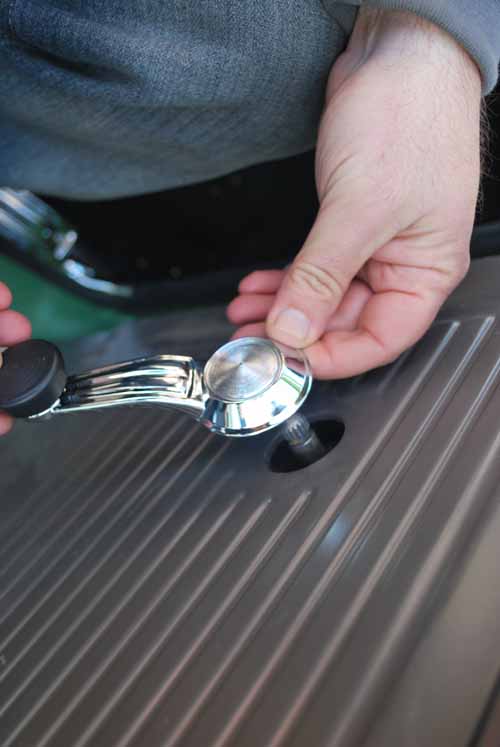 |
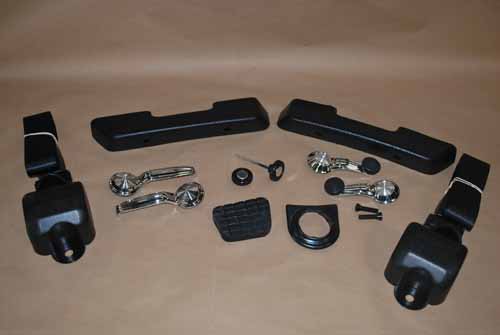
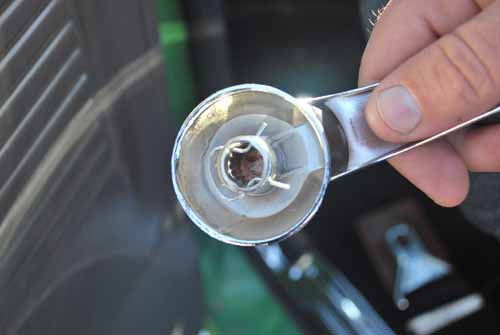
Brothers Truck Parts has everything that you need to complete your project with the same OEM quality parts. We needed to replace the seat belts, arm rests and door/window cranks, to really bring in some comfort. The window and door cranks are held in place with “horseshoe” clips that just push on to the “stems” of both the window regulator, and door linkage.
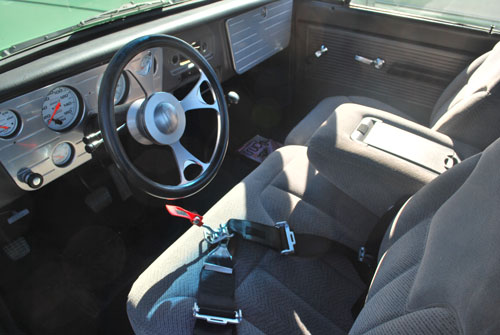
The new seat belts are installed just like the factory ones and use the same factory fasteners. A “Torx” driver needs to be used to tighten the hardware down in place.

To top things off so to speak, a new dash pad from Brothers finishes off things looking awesome, while offering safety to the cab as well.
Sources:
Brothers Truck Parts: www.brotherstruckparts.com
One Piece Products: www.onepieceproducts.com
714 Motorsports www.714motorsports.net
No Limit Engineering: www.nolimit.net
Sources:
No Limit Engineering: www.nolimit.net
SEM “rock-it liner” www.semproducts.com
Coast Airbrush: www.coastairbrush.com
Chevy Truck Salvage: (714) 554-1850
