Joe Touring – Part 5: Paint & Body
I just saw a quote on a forum site that made me smile, and really think about what all this stuff is about. The quote of course was “if I had all the money back that I’ve spent on cars, I’d spend it on cars again.” Seems fair right? I mean who just wants to build one truck in their life? Besides it’s not about the destination, it’s the trip that gets you there. That’s what this series of articles is all about, getting together with a group of friends and building a cool cruiser without spending major bucks.
By the looks of what we started out with, we were going to need a lot of friends to help us out, but to our surprise, we found a sound cab, and the rest of the body parts came back from the blaster in great shape. So far, things have been rolling smoothly. The crew at No Limit has been using this project as a test mule for a new rack and pinion steering system, along with a shock re-locator kit as well as a new pan-hard bar set up, and we have been able to save ourselves some cash by locating a used LS engine and transmission package. The greatest thing about that engine swap is the availability of after-market components that make it easy to swap the LS in the truck including Energy Suspension’s engine mounts, Hedman Headers, and Painless wirings computer setup. Without these items, we would be stuck in a rut still dreaming of it running.
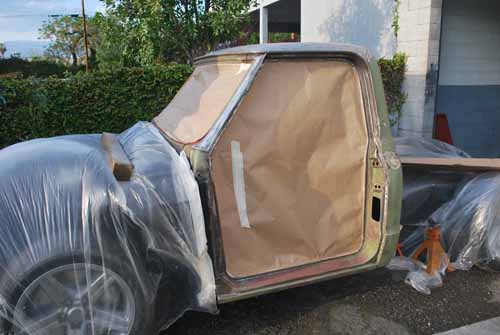
With the mechanical side of things looking good, it’s time to focus on the paint and body, plus the re-pop accessories that will help with the JT’s restoration. Keeping in line with a budget, we decided to do the body work and paint ourselves, and since the JT is from a 1972 vintage, it made perfect sense to have it media blasted by the guys at R&R Blasting and Powder-Coating in Corona, California. So let’s join in with the fun and see how the JT truck went from the “Junk Truck” to “Joe Touring.”
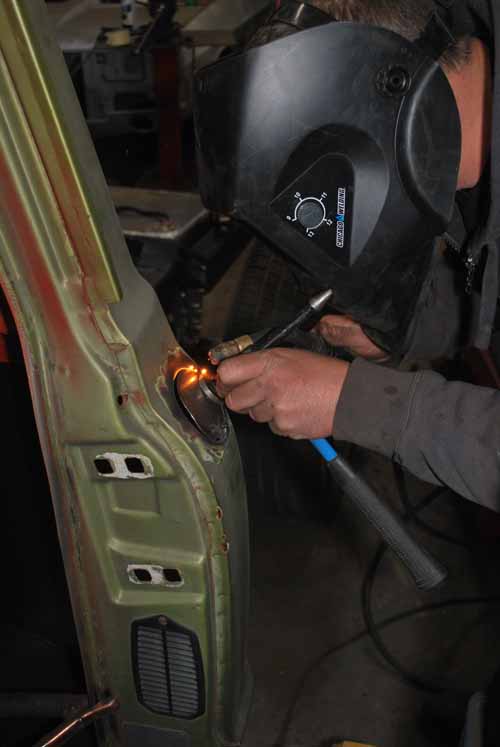
The cab that we found to replace the original JT cab was rust free and in great shape, so the only thing that we needed to do was weld up the gas filler hole on the drivers side of the cab.
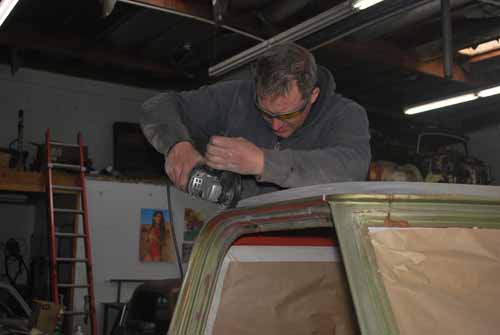
Diving right into the bodywork was Owen, who is seen here removing the factory seam sealer from the cab’s drip rails. This is a known offender of hiding rust which will come back to haunt a paint job if you allow it to. By removing the factory seam sealer, and treating the area with rust preventer (like KBS Coatings Rust Blast), plus resealing the drip rails with new sealer, you’ll sleep easy at night knowing that rust won’t be a problem for another 40 years or so.
As I mentioned, this cab even had factory paint which was in great shape as far as preventing the elements from turning it into a rust bucket. So the right thing to do was scrub it down with a dual action sander, AKA a “DA”, using 150 grit sandpaper to ensure a mechanical bond for the primer to stick.
 |
 |
After we sanded everything down, we masked the rest of the truck off and used a sealer primer from PCL. This high fill primer will also allow us to block and sand down any high spots in the panels making way for smooth and straight panels that the color will sit on.
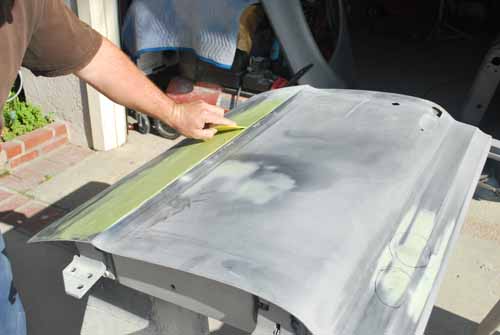
With the cab sitting in primer, we focused on the body panels, where the doors also came back from the blaster in great shape. Most of the damaged areas were from door dings, and road bumps. A small “skim-coat” of body filler, followed by a few rounds of block sanding straightens things out making them ready for primer.
 |
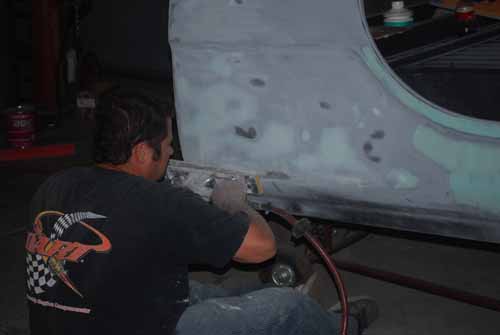 |
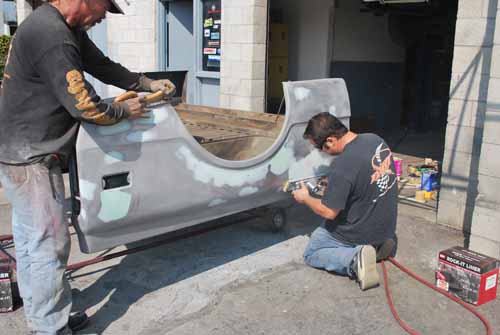
Moving on to the bed is where most of the work needed to be done. Although this guy was rust free just like his partners, someone used this as a real truck prior to our turn at ownership. It started out feeling like the surface of the moon, but with the help of a dual action air file like this one from Hutchins Manufacturing, it saved us a lot of time and grief, plus gave us the results that we were looking for.
 |
 |
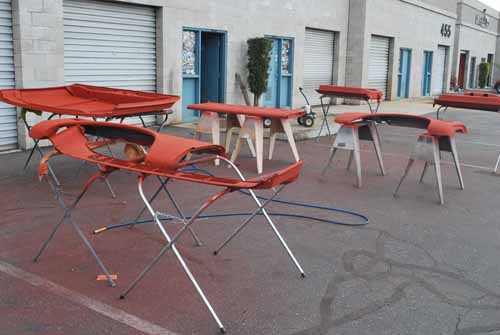 |
The time came to fix up some more primer to cover up and fill all of the body parts. Mixing the PCL primer with a small amount of Acetone, allowed us to cover everything that we needed on the stands out in front. After they were dry, all the parts were block sanded, checked for trueness, and repaired if necessary.
 |
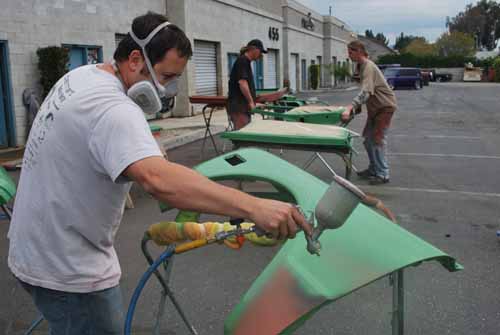 |
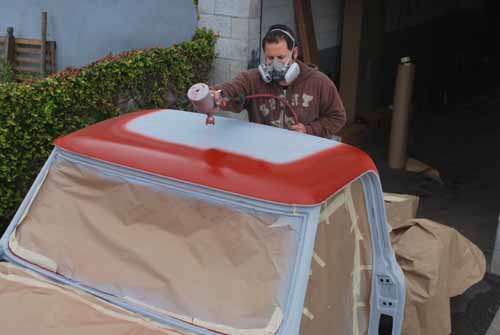
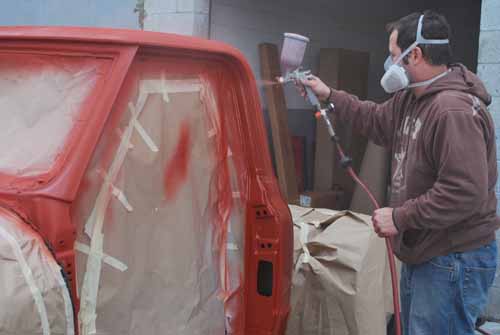
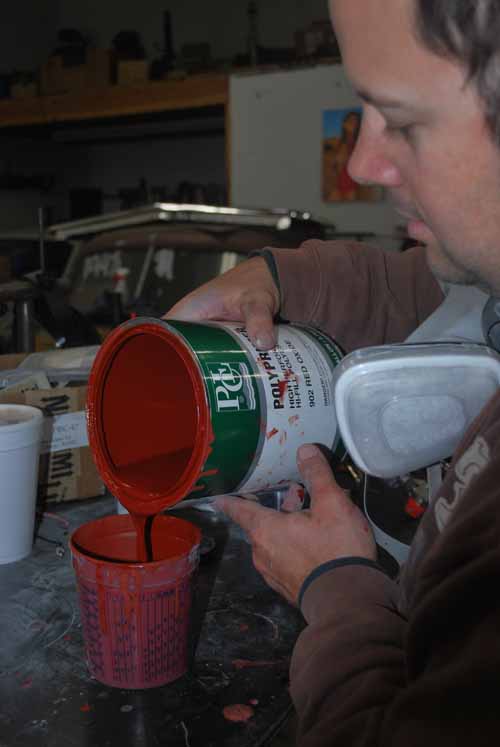
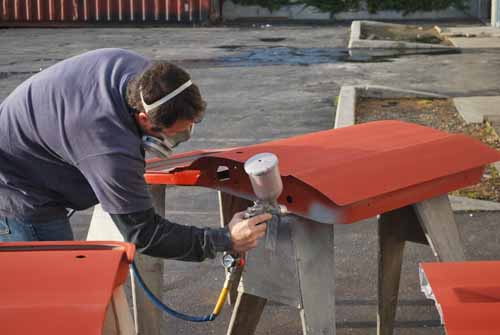
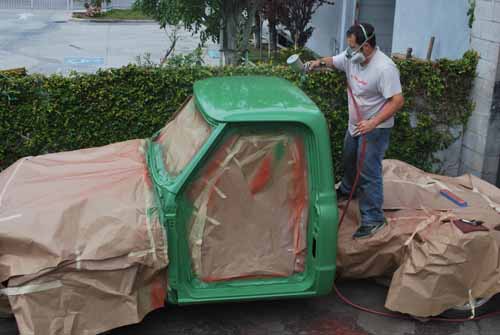
When we felt confident enough with our body work, it was time to put some color on. Starting with the cab, using a “cocktail” of different colors, we began shooting the parts right where we primed them at.
 |
 |
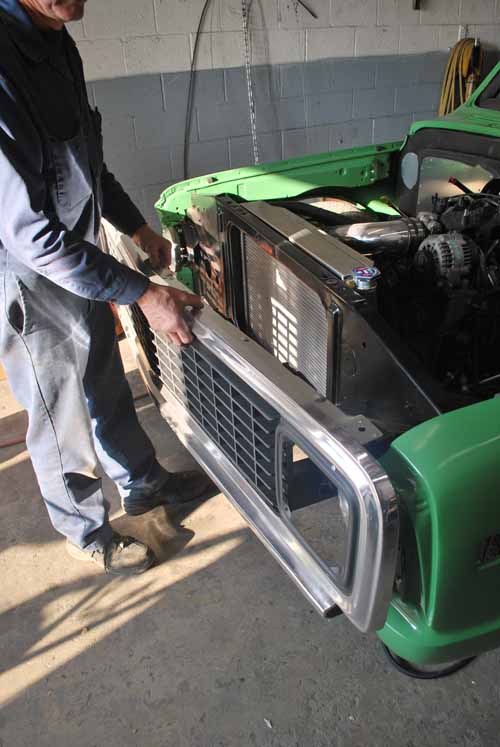 |
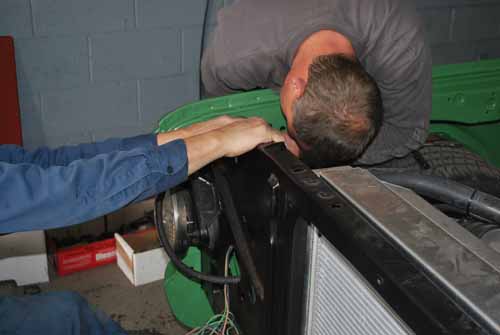
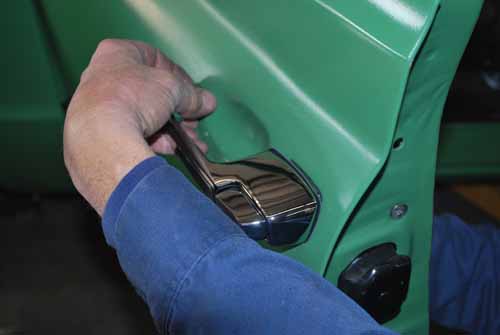
We gave the paint about 48 hours to dry which then led into an all out assault on reassembly. Using the factory radiator support proved to be a bit tricky, as we found out the hard way that someone must have bumped into something at some part of JT’s former life. However, things got better, as the outer door handles and grille assembly that we got from Brothers Truck Parts out of Corona, California went together smoothly, while looking outstanding.
 |
 |
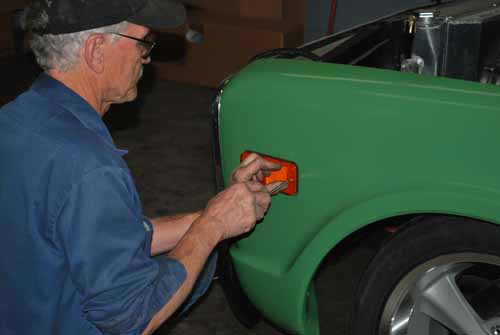 |
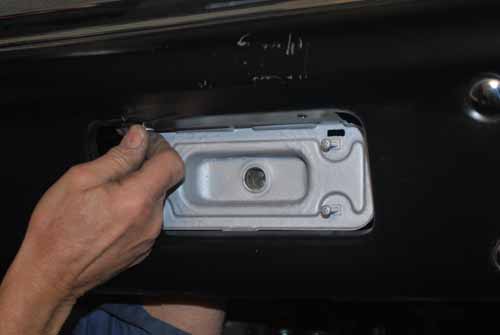
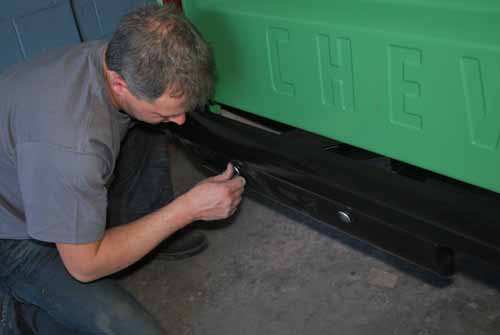
In an effort to make JT look more on the “industrial” side, we opted to use the paintable versions of the factory bumpers. Brothers Truck Parts had what we needed, including the bumper brackets and park lamp / side marker lenses, to complete the look we desired.
 |
 |
 |
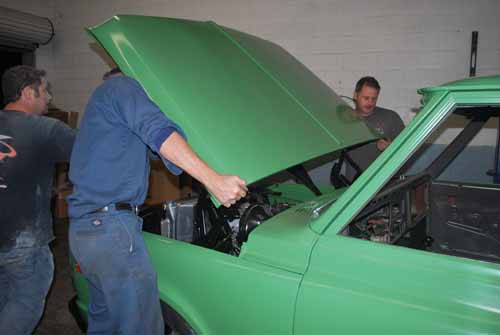
The factory hood hinges were shot, but of course we needed something to hold the hood on with. Our savior again was Brothers Truck Parts, as they sell exact replicas of the factory hinges that came on the truck. Once we got the hinges, and hood set in place, Owen tuned in the adjustments, and closed it up.
 |
 |
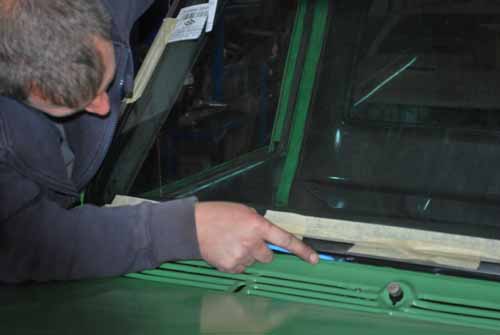 |
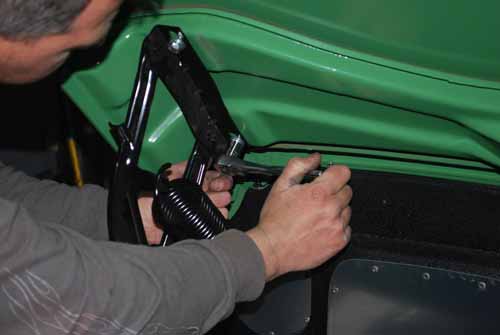
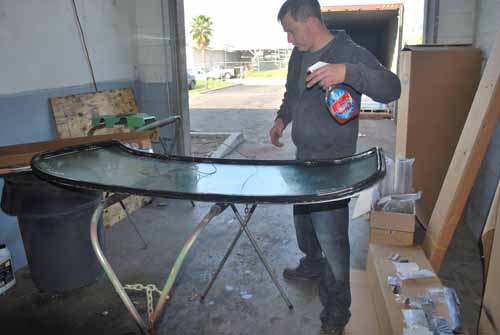
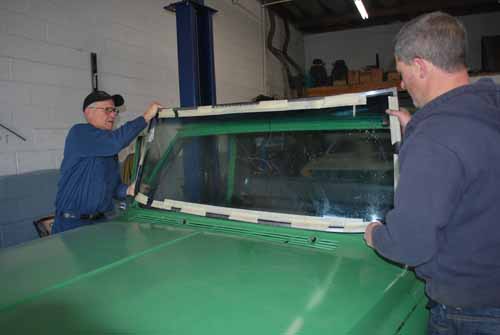
Installing glass can seem intimidating, but have no fear, because again, Brothers Truck Parts, not only sells the rubber gaskets, and moldings, but the tools that help you install them as well. Seen here in this series of photos, Mike and Owen are using a soap and water solution as lubricant. Next, a piece of rope-cord is fitted into the mounting groove on the inside of the rubber gasket. The lip of the gasket needs to be pulled over the inside flange of the cab locking the glass in place. Then on the outside, the gasket might get tucked under while the installation process happens. To fix it, Brothers has a plastic tool made for you to pry under the gasket, and flatten out the rubber without scratching your paint.
 |
 |
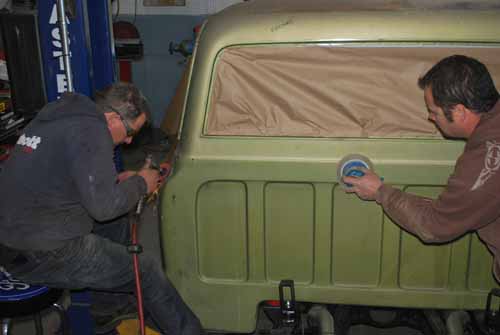
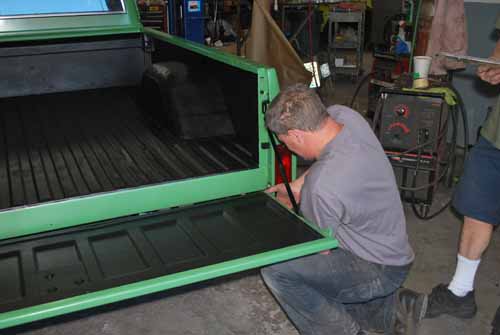
Out back things are moving right along, as Owen and Mike finish putting on the tailgate and the tail light, back up light housings and lenses. These items again are from Brother Truck Parts, and really make the project look brand new. To complete the look, a matching rear bumper is placed on the back.
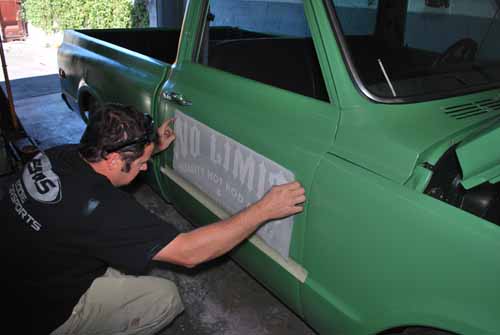
To give JT some character we headed down to a local sign shop, and had some logos made out of vinyl.
Sources: No Limit Engineering : www.nolimit.net
Brothers Truck Parts: www.brotherstruckparts.com
Hutchins Tools: www.hucthinsmfg.com
KBS Coatings www.kbs-coatings.com
PCL Primer: www.pclautomotive.com
Sources:
No Limit Engineering: www.nolimit.net
SEM “rock-it liner” www.semproducts.com
Coast Airbrush: www.coastairbrush.com
Chevy Truck Salvage: (714) 554-1850